Log in with Twitter

Log in with Twitter

Use Log in with Twitter, also known as Sign in with Twitter, to place a button on your site or application which allows Twitter users to enjoy the benefits of a registered user account in as little as one click. This works on websites, iOS, mobile, and desktop applications.

Sign in with Twitter button


Features

  • Ease of use - A new visitor to your site only has to click two buttons in order to log in for the first time.
  • Twitter integration - The Log in with Twitter flow can grant authorization to use Twitter APIs on your users' behalf.
  • OAuth based - A wealth of client libraries and example code are compatible with the Log in with Twitter API.


Available for

  • Browsers - If your users can access a browser, you can integrate with Log in with Twitter. Learn about the browser sign in flow.
  • Mobile devices - Any web-connected mobile device can take advantage of Log in with Twitter. Learn about the mobile sign in flow.

Implementing Log in with Twitter

The browser and mobile web implementations of Log in with Twitter are based on OAuth. This page demonstrates the requests needed to obtain an access token for the sign in flow.

To use the “Log in with Twitter” flow, please go to your Twitter app settings and ensure that the "Allow this app to be used to Sign in with Twitter?” option is enabled.

This page assumes that the reader knows how to sign requests using the OAuth 1.0a protocol. If you want to know how to sign a request, read the Authorizing a request page.

If you want to check the signing of the requests on this page, the consumer secret used is: L8qq9PZyRg6ieKGEKhZolGC0vJWLw8iEJ88DRdyOg. This value is for test purposes and will not work for real requests.

The three steps for implementing Log in with Twitter through obtaining a request token, redirecting a user, and converting a request token into an access token are listed below.
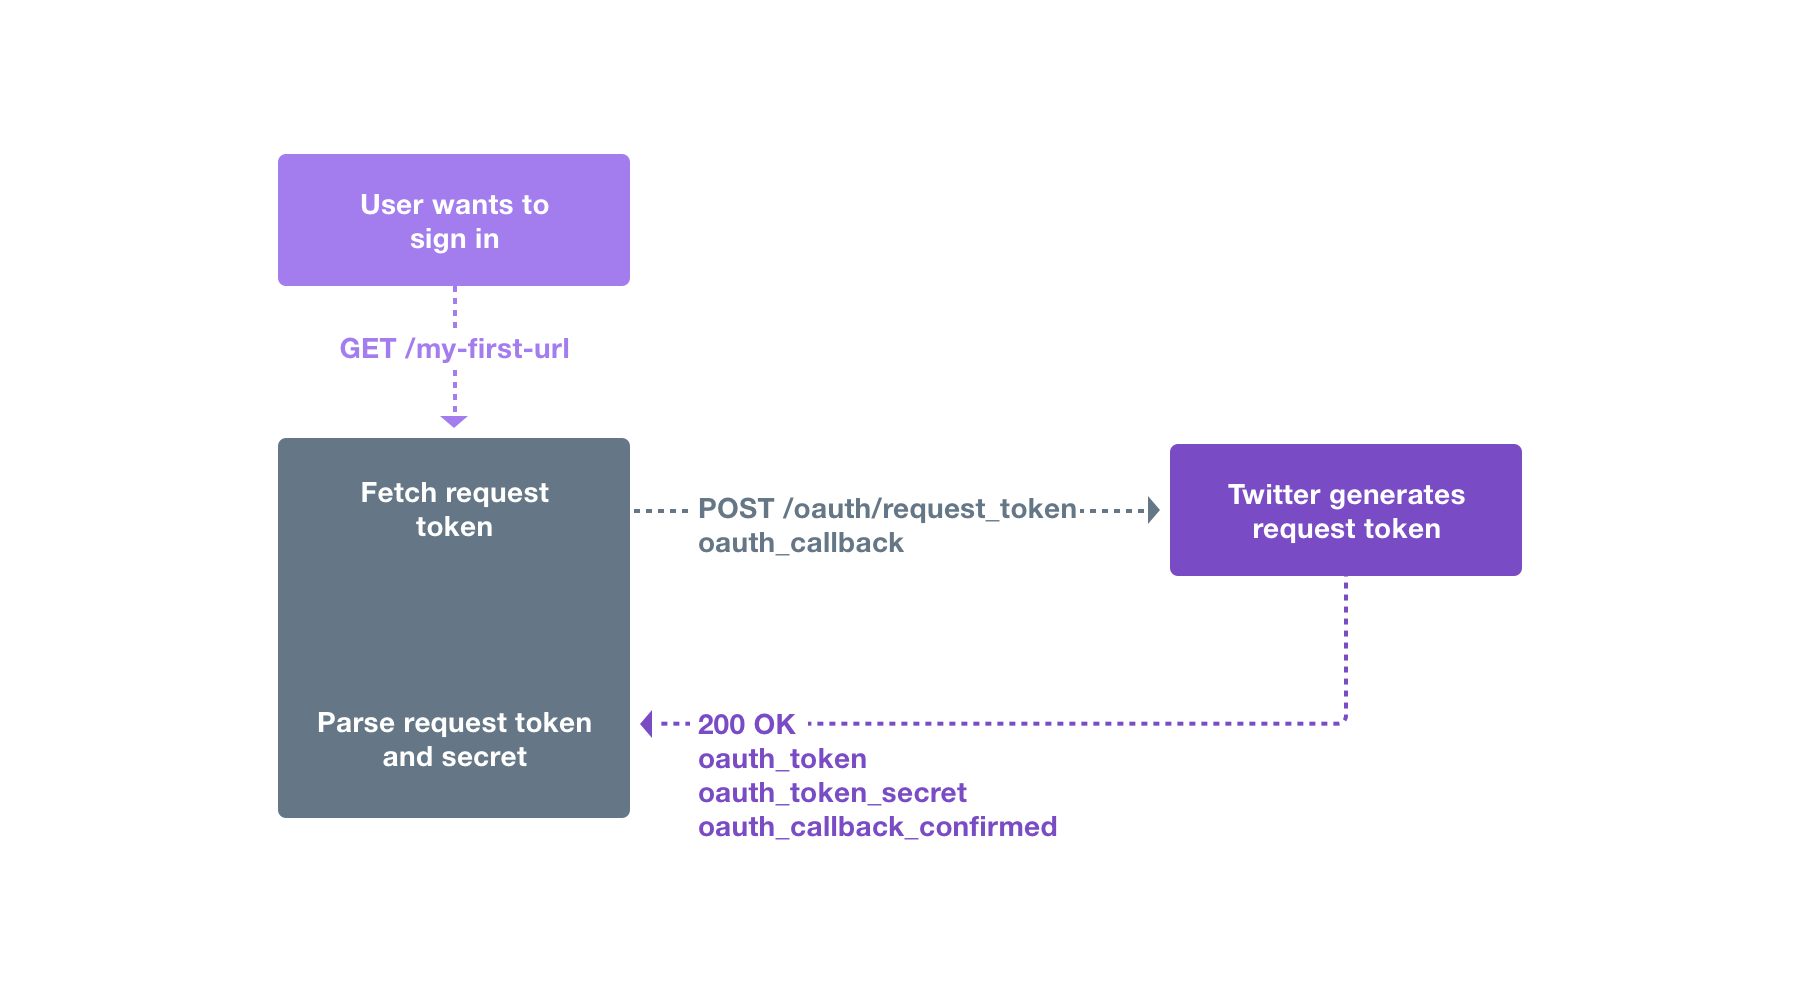
 

Step 1
Step 2
Step 3

Step 1: Obtaining a request token

To start a sign-in flow, your Twitter app must obtain a request token by sending a signed message to POST oauth/request_token. The only unique parameter in this request is oauth_callback, which must be a URL-encoded version of the URL you wish your user to be redirected to when they complete step 2. The remaining parameters are added by the OAuth signing process.


Please note - Any callback URL that you use with the POST oauth/request_token endpoint will have to be registered within the Twitter app settings in the developer portal.


Example request (Authorization header has been wrapped):


POST /oauth/request_token HTTP/1.1
User-Agent: themattharris' HTTP Client
Host: api.twitter.com
Accept: */*
Authorization:
        OAuth oauth_callback="http%3A%2F%2Flocalhost%2Fsign-in-with-twitter%2F",
              oauth_consumer_key="cChZNFj6T5R0TigYB9yd1w",
              oauth_nonce="ea9ec8429b68d6b77cd5600adbbb0456",
              oauth_signature="F1Li3tvehgcraF8DMJ7OyxO4w9Y%3D",
              oauth_signature_method="HMAC-SHA1",
              oauth_timestamp="1318467427",
              oauth_version="1.0"


Your app should examine the HTTP status of the response. Any value other than 200 indicates a failure. The body of the response will contain the oauth_tokenoauth_token_secret, and oauth_callback_confirmed parameters. Your app should verify that oauth_callback_confirmed is true and store the other two values for the next steps.

Example response (response body has been wrapped):


HTTP/1.1 200 OK
Date: Thu, 13 Oct 2011 00:57:06 GMT
Status: 200 OK
Content-Type: text/html; charset=utf-8
Content-Length: 146
Pragma: no-cache
Expires: Tue, 31 Mar 1981 05:00:00 GMT
Cache-Control: no-cache, no-store, must-revalidate, pre-check=0, post-check=0
Vary: Accept-Encoding
Server: tfe

oauth_token=NPcudxy0yU5T3tBzho7iCotZ3cnetKwcTIRlX0iwRl0&
oauth_token_secret=veNRnAWe6inFuo8o2u8SLLZLjolYDmDP7SzL0YfYI&
oauth_callback_confirmed=true

Step 2: Redirecting the user

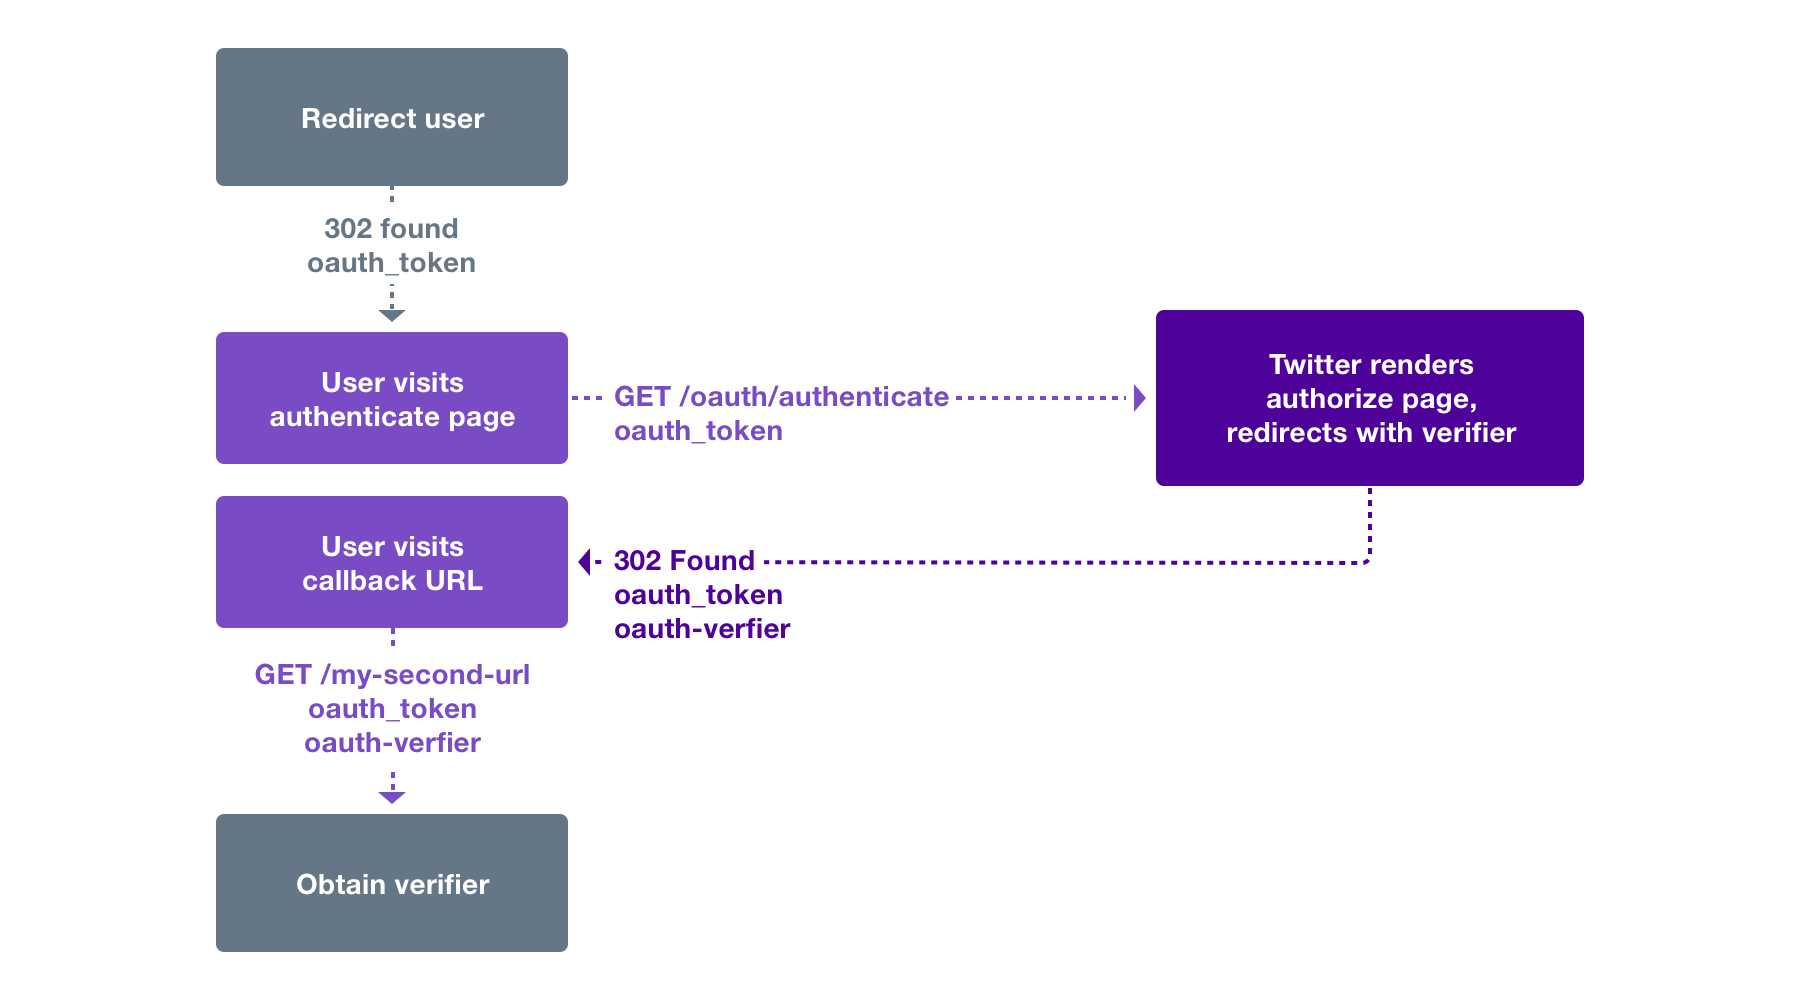
The next step is to direct the user to Twitter so that they may complete the appropriate flow, as described in Browser sign-in flow below. Direct the user to GET oauth/authenticate, and the request token obtained in step 1 should be passed as the oauth_token parameter.

The most seamless way for a website to implement this would be to issue an HTTP 302 redirect as the response to the original “sign in” request. Mobile and desktop apps should open a new browser window or direct to the URL via an embedded web view.

Example URL to redirect to:

https://api.twitter.com/oauth/authenticate?oauth_token=NPcudxy0yU5T3tBzho7iCotZ3cnetKwcTIRlX0iwRl0

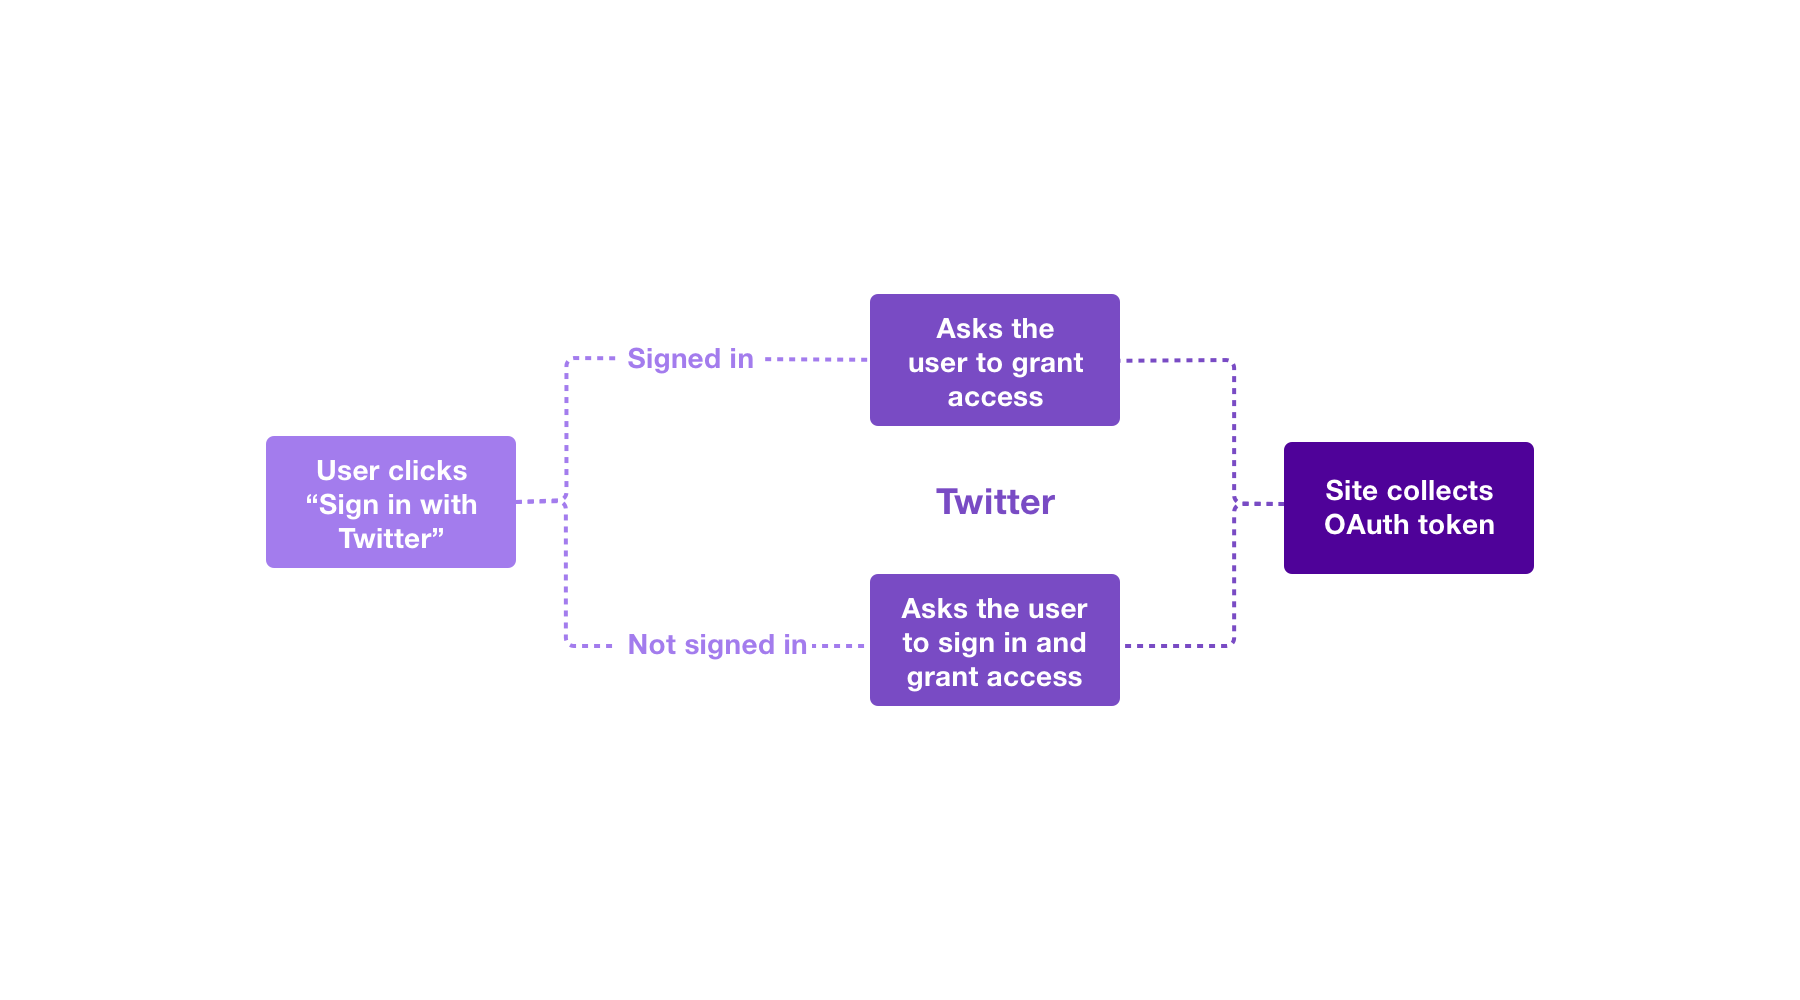
The sign in endpoint will behave in one of three ways depending on the user’s status:

  1. Signed in and approved: If the user is signed in on twitter.com and has already approved the calling application, they will be immediately authenticated and returned to the callback URL with a valid OAuth request token. The redirect to twitter.com is not obvious to the user.
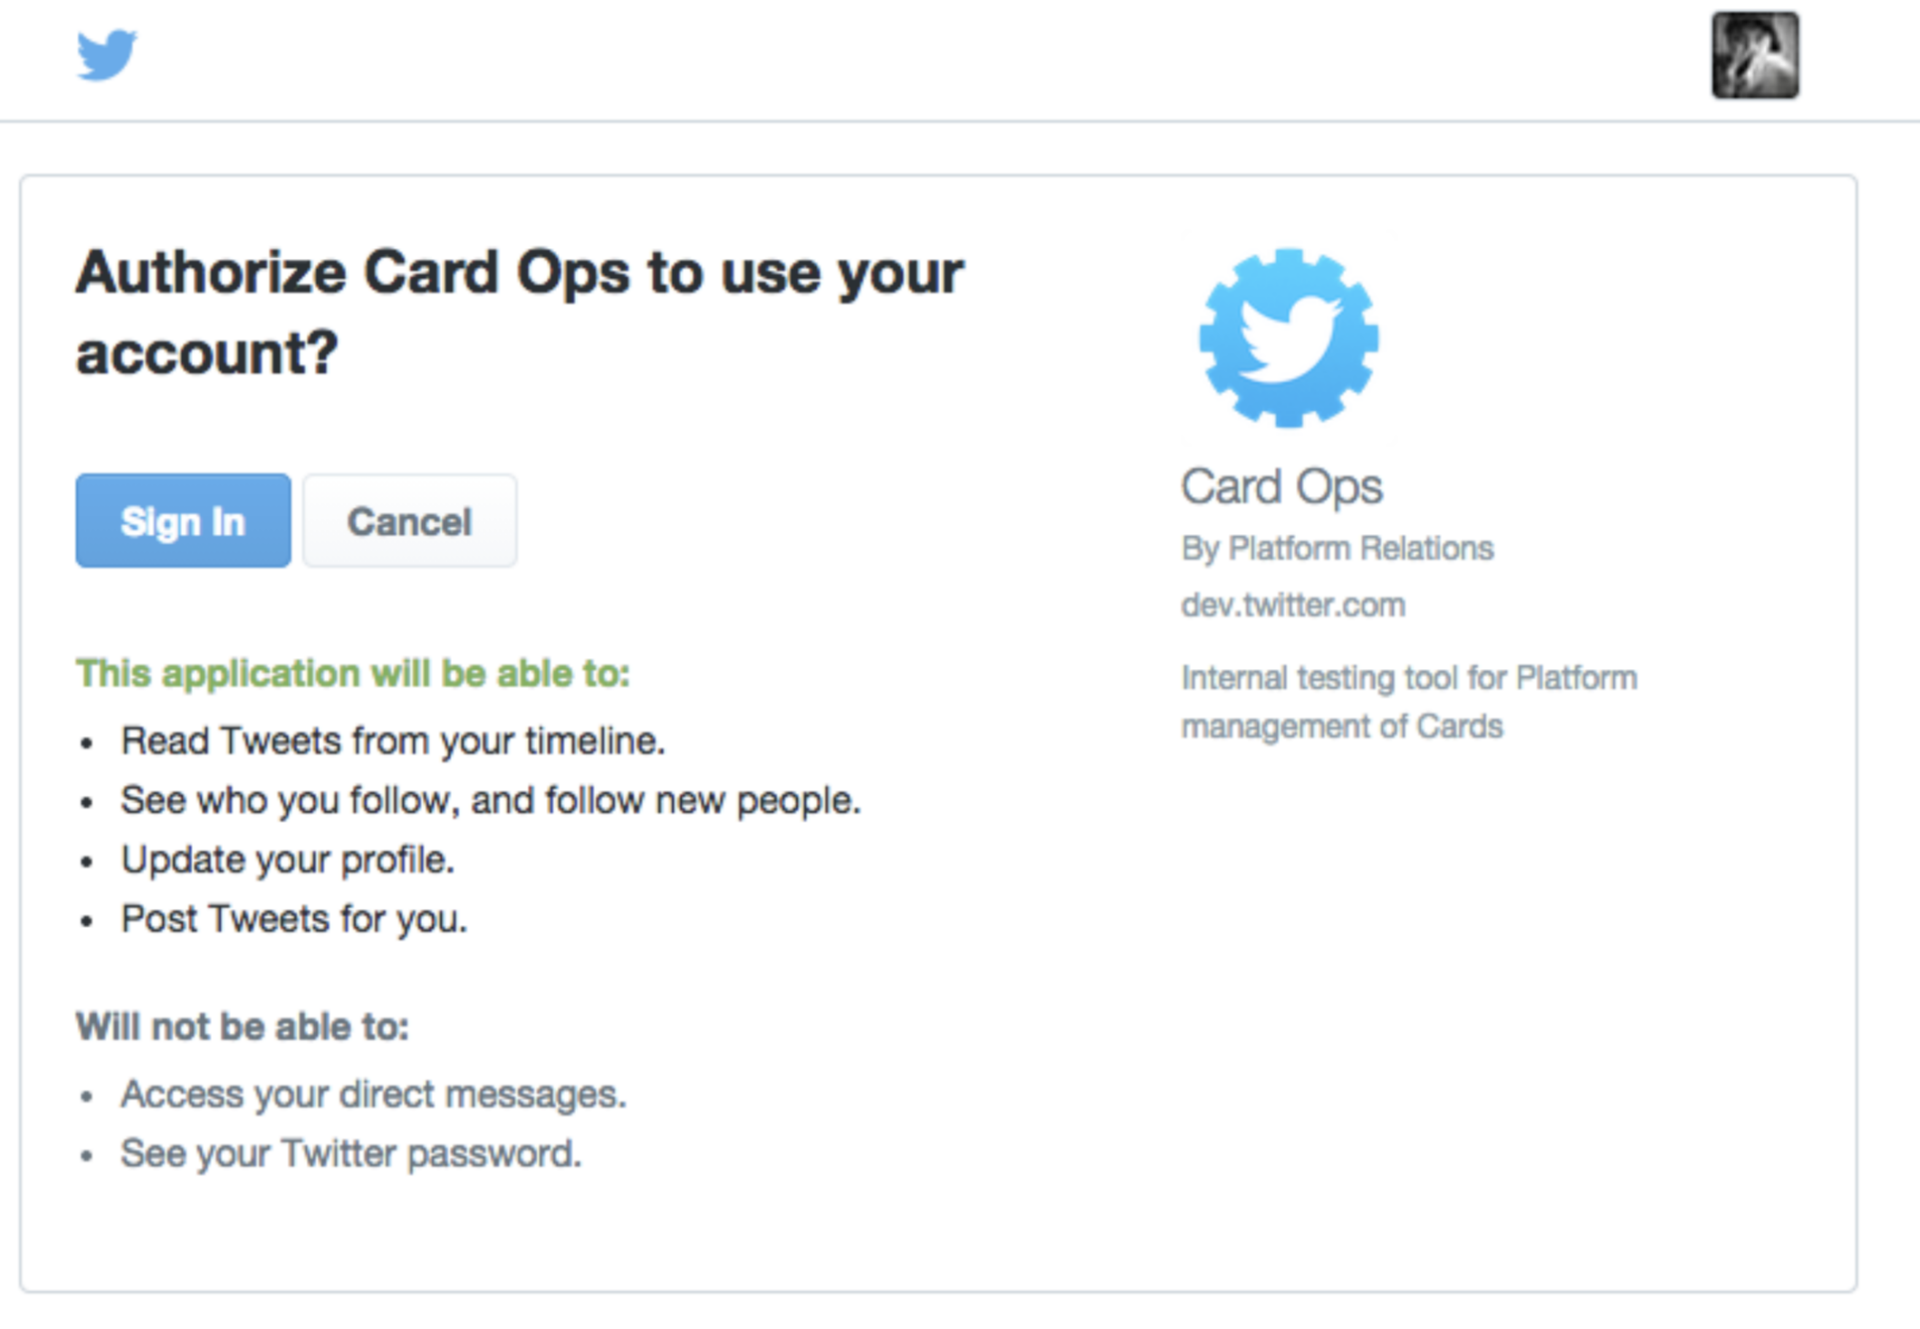
  2. Signed in but not approved: If the user is signed in to twitter.com but has not approved the calling application, a request to share access with the calling application will be shown. After accepting the authorization request, the user will be redirected to the callback URL with a valid OAuth request token.
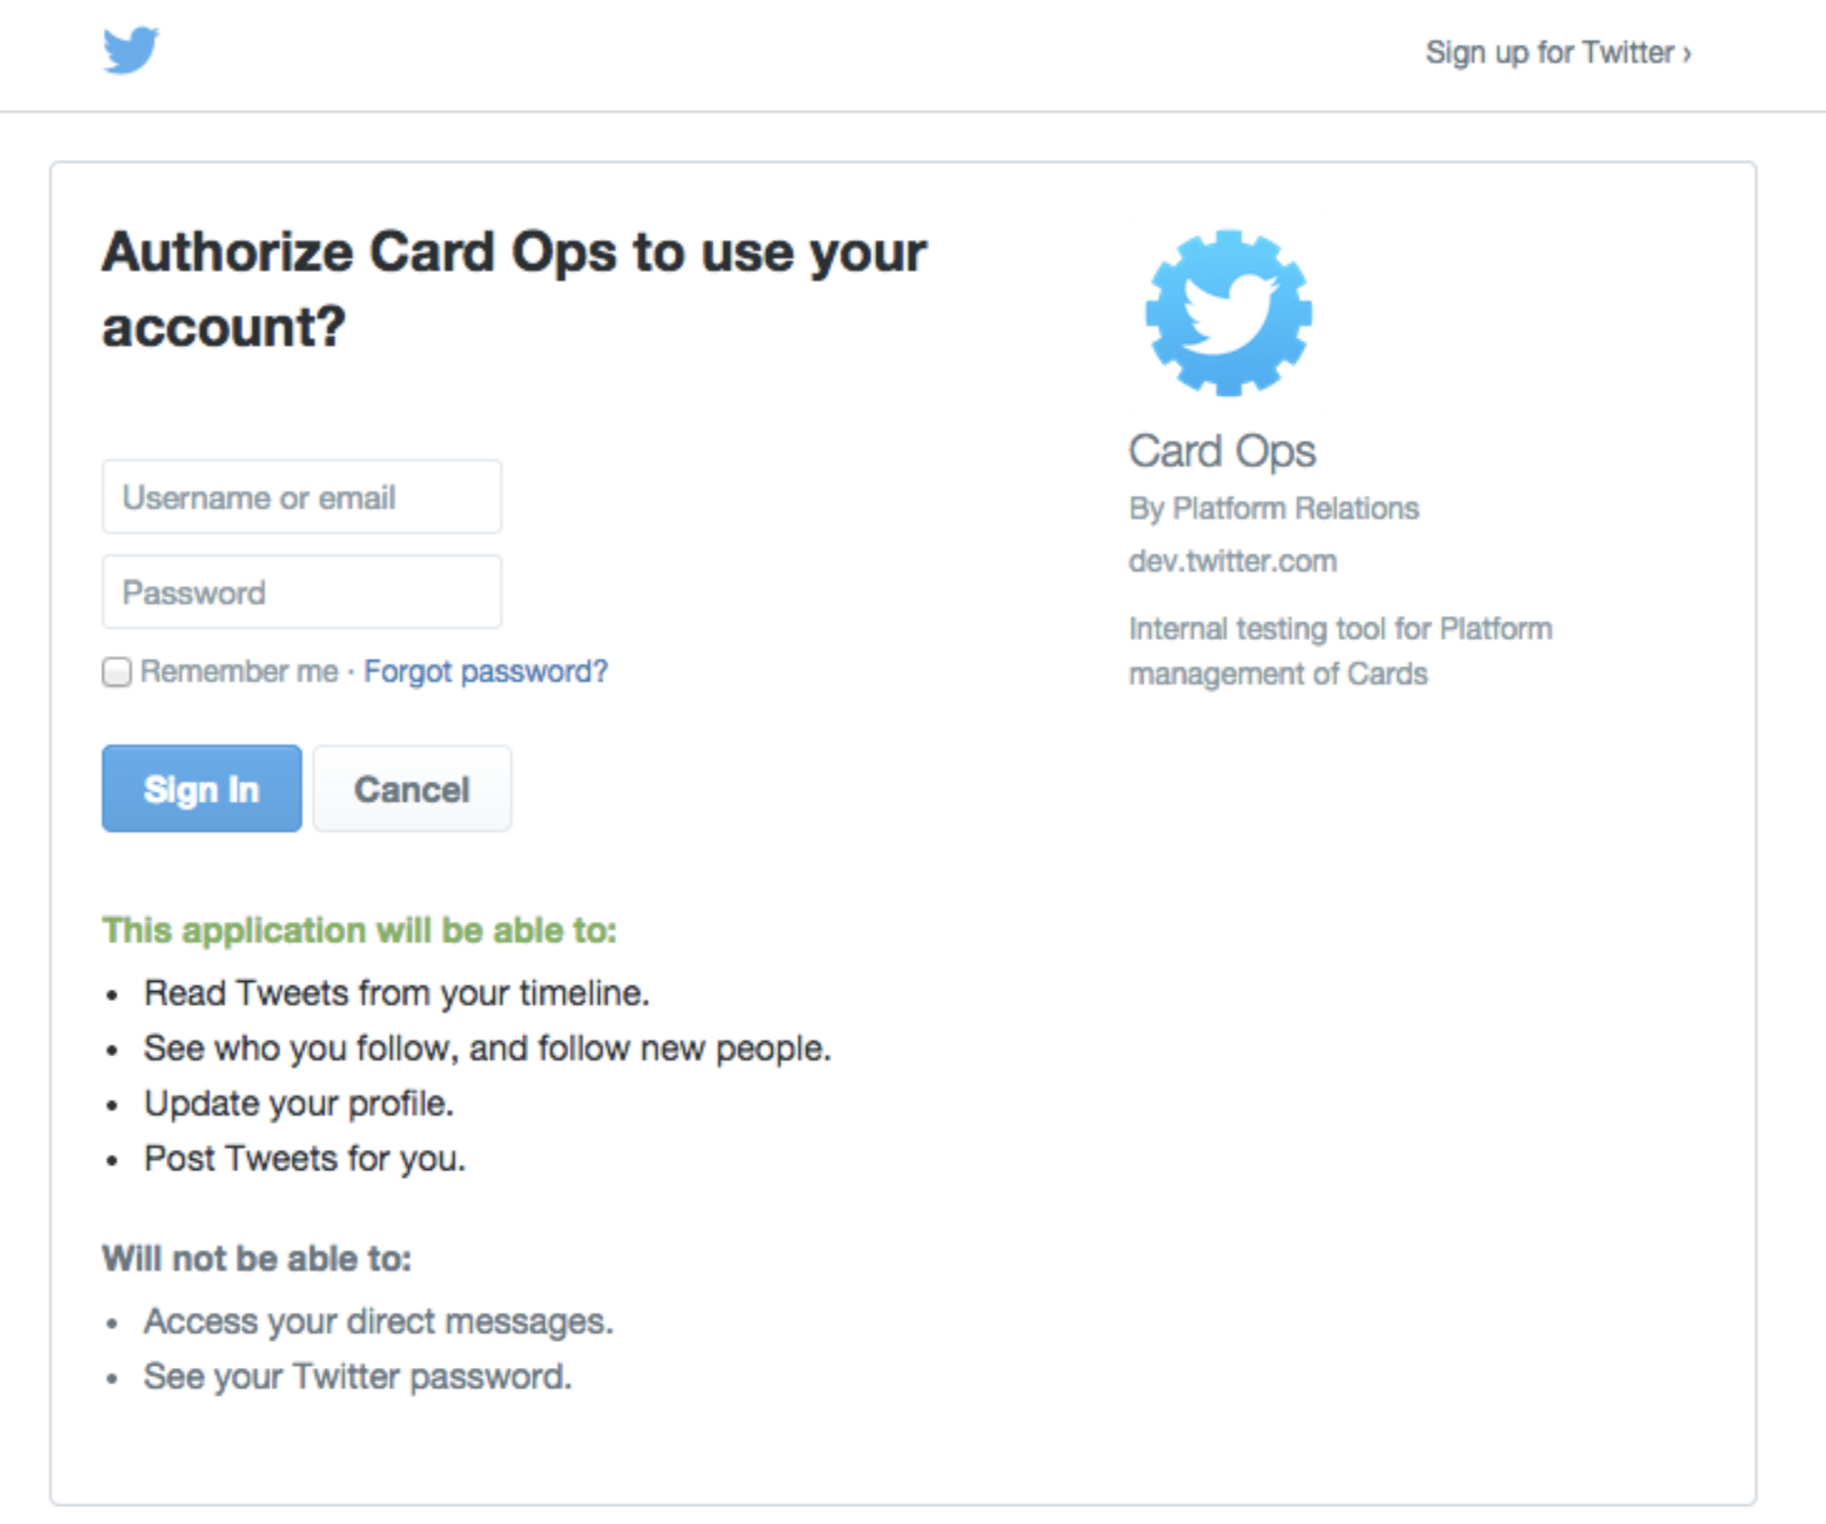
  3. Not signed in: If the user is not signed in on twitter.com, they will be prompted to enter their credentials and grant access for the application to access their information on the same screen. Once signed in, the user will be returned to the callback URL with a valid OAuth request token.

The possible states for the sign in interaction are illustrated in the following flowchart:


Upon a successful authentication, your callback_url would receive a request containing the oauth_token and oauth_verifier parameters. Your application should verify that the token matches the request token received in step 1.

Request from client’s redirect (querystring parameters wrapped):


GET /sign-in-with-twitter/?
        oauth_token=NPcudxy0yU5T3tBzho7iCotZ3cnetKwcTIRlX0iwRl0&
        oauth_verifier=uw7NjWHT6OJ1MpJOXsHfNxoAhPKpgI8BlYDhxEjIBY HTTP/1.1
Host: localhost
User-Agent: Mozilla/5.0 (Macintosh; Intel Mac OS X 10_6_8) AppleWebKit/535.5 (KHTML, like Gecko) Chrome/16.0.891.1 Safari/535.5
Accept: text/html,application/xhtml+xml,application/xml;q=0.9,*/*;q=0.8
Referer: http://localhost/sign-in-with-twitter/
Accept-Encoding: gzip,deflate,sdch
Accept-Language: en-US,en;q=0.8
Accept-Charset: ISO-8859-1,utf-8;q=0.7,*;q=0.3


Step 3: Converting the request token to an access token

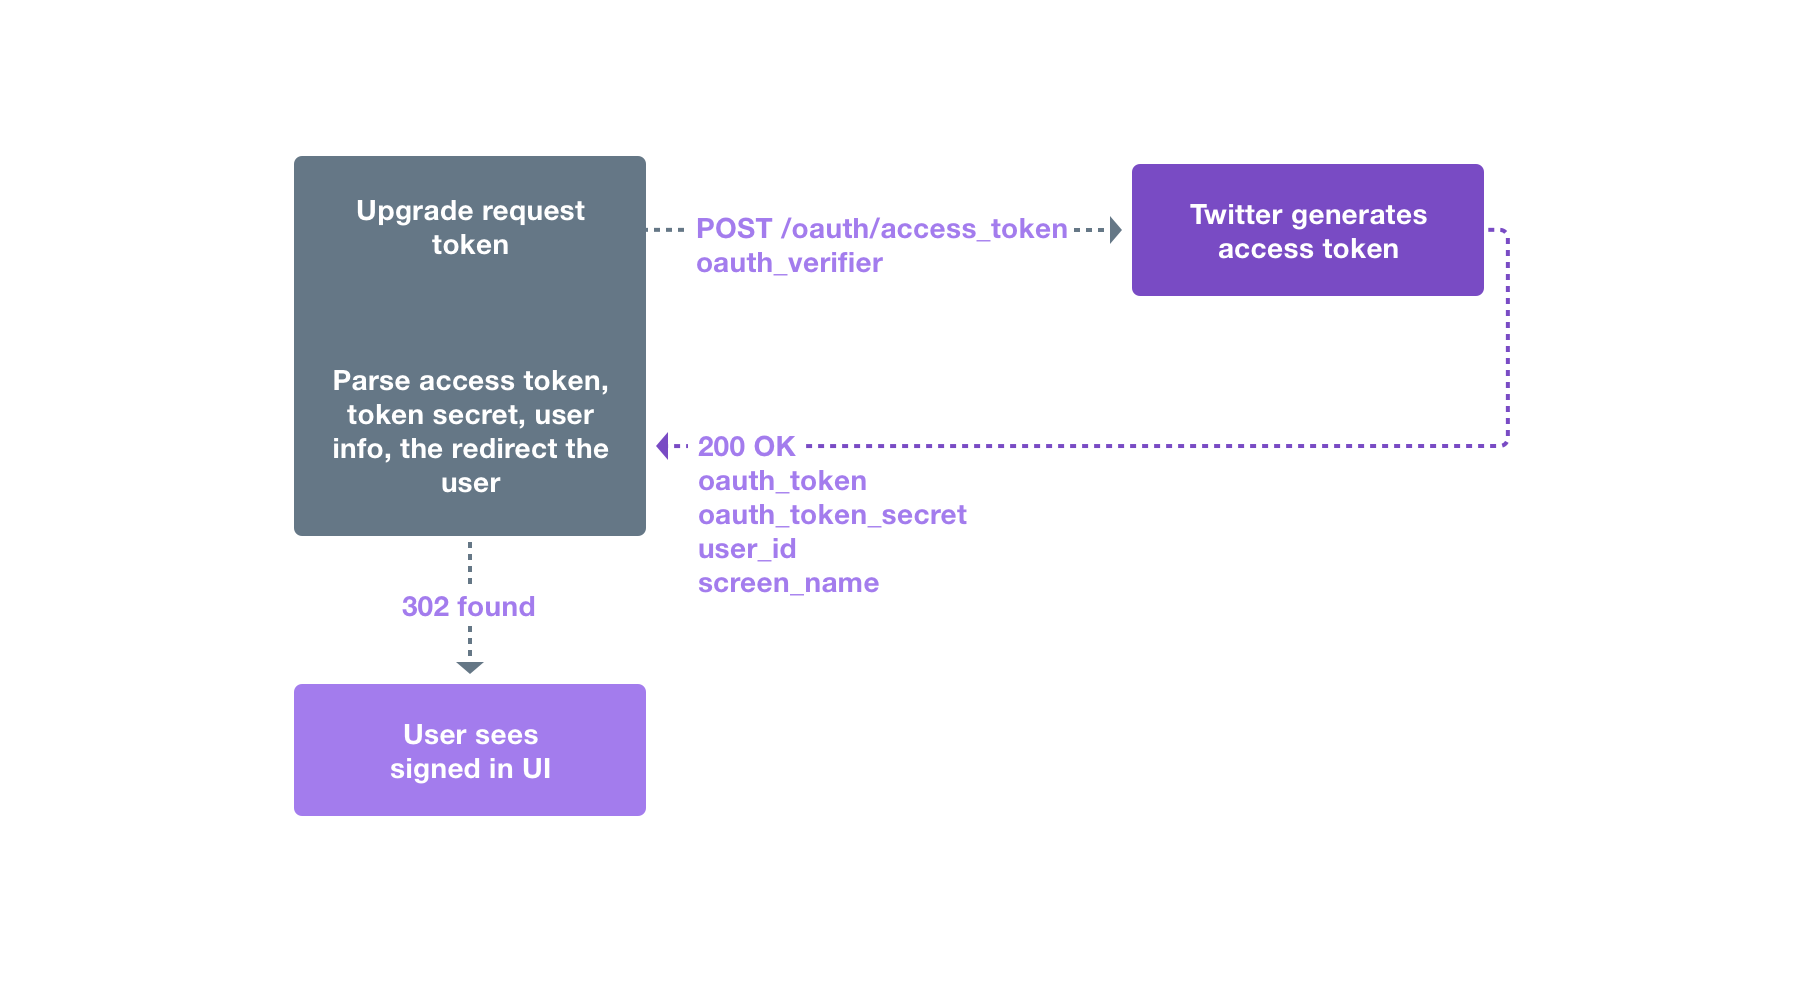
To render the request token into a usable access token, your application must make a request to the POST oauth/access_token endpoint, containing the oauth_verifier value obtained in step 2. The request token is also passed in the oauth_token portion of the header, but this will have been added by the signing process.

Example request (Authorization header wrapped):


POST /oauth/access_token HTTP/1.1
User-Agent: themattharris' HTTP Client
Host: api.twitter.com
Accept: */*
Authorization: OAuth oauth_consumer_key="cChZNFj6T5R0TigYB9yd1w",
                     oauth_nonce="a9900fe68e2573b27a37f10fbad6a755",
                     oauth_signature="39cipBtIOHEEnybAR4sATQTpl2I%3D",
                     oauth_signature_method="HMAC-SHA1",
                     oauth_timestamp="1318467427",
                     oauth_token="NPcudxy0yU5T3tBzho7iCotZ3cnetKwcTIRlX0iwRl0",
                     oauth_version="1.0"
Content-Length: 57
Content-Type: application/x-www-form-urlencoded

oauth_verifier=uw7NjWHT6OJ1MpJOXsHfNxoAhPKpgI8BlYDhxEjIBY

A successful response contains the oauth_tokenoauth_token_secret parameters. The token and token secret should be stored and used for future authenticated requests to the Twitter API. To determine the identity of the user, use GET account/verify_credentials.

Example response (response body has been wrapped):


HTTP/1.1 200 OK
Date: Thu, 13 Oct 2011 00:57:08 GMT
Status: 200 OK
Content-Type: text/html; charset=utf-8
Content-Length: 157
Pragma: no-cache
Expires: Tue, 31 Mar 1981 05:00:00 GMT
Cache-Control: no-cache, no-store, must-revalidate, pre-check=0, post-check=0
Vary: Accept-Encoding
Server: tfe

oauth_token=7588892-kagSNqWge8gB1WwE3plnFsJHAZVfxWD7Vb57p0b4&
oauth_token_secret=PbKfYqSryyeKDWz4ebtY3o5ogNLG11WJuZBc9fQrQo
Additional resources
Browser sign in flow
Mobile sign in flow

Log in with Twitter Resources

Client libraries

The client libraries listed at Twitter libraries will help implement Log in with Twitter. Use the /oauth/authenticate endpoint, as described in the previous steps.


Buttons

Twitter would prefer your application to use the following buttons for consistent branding. Save these images to host on your own servers.

Sign in with Twitter (button style):


Sign in with Twitter (link style):


The browser log in flow is appropriate for websites and applications which are able to open or embed a web browser. At a very high level:


  • The application renders a “Sign in with Twitter” link or button.
  • The user clicks the sign in button.
  • The current web browser is redirected to Twitter (or a new browser is opened and directed to Twitter).
  • The user completes a login and authorization step at Twitter if needed.
  • Twitter redirects back to an URL under the application’s control, passing authorization information for the user.


Twitter keeps track of the authorizations, so for users already signed in to twitter.com who have authorized the application, no UI is shown - instead, they are automatically redirected back to the application.


Desktop flow


To demonstrate the flows, pretend the website pictured above (“The greatest website ever created”) has implemented this API, as shown by the Sign in with Twitter button on the landing page.

When the user clicks the Sign in button, the page they see depends on whether they are signed in and whether they have previously allowed the application to access their account.

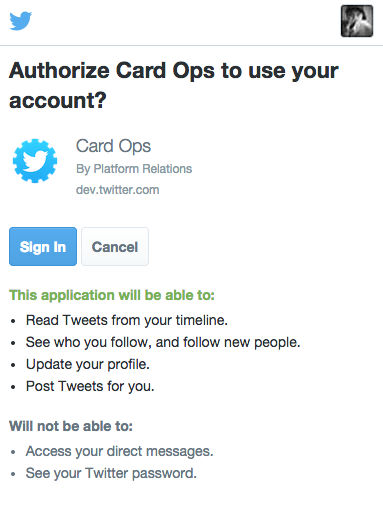
When the user is signed in to twitter.com but has not granted access, a list of requested permissions, along with Sign In and Cancel buttons are shown.

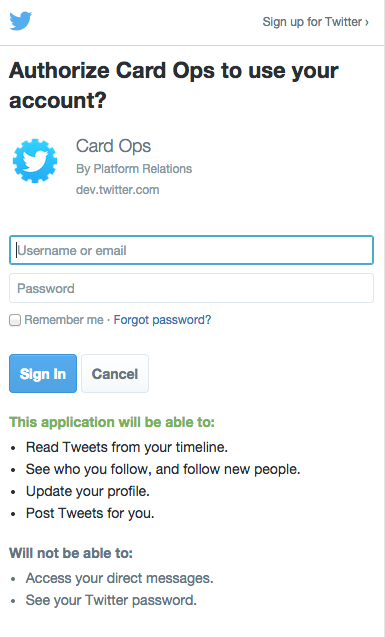
When the user is not signed in to twitter.com input fields for a username and password will be shown. Note that even if the user has already granted access to the application, the list of permissions will still be shown.


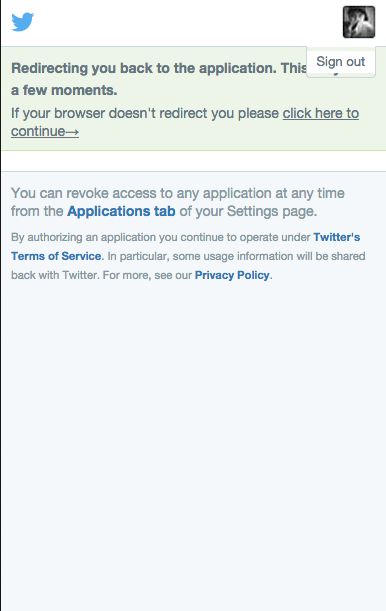
After the user inputs valid credentials (if needed) and clicks “Sign In”, Twitter will redirect the user to the website which started the sign in flow.

In the case where the user is already signed in to twitter.com and has granted access to the website, this redirect happens immediately.

The UI flow for mobile web browsers works exactly like the Browser sign in flow, but is optimized for mobile browsers.

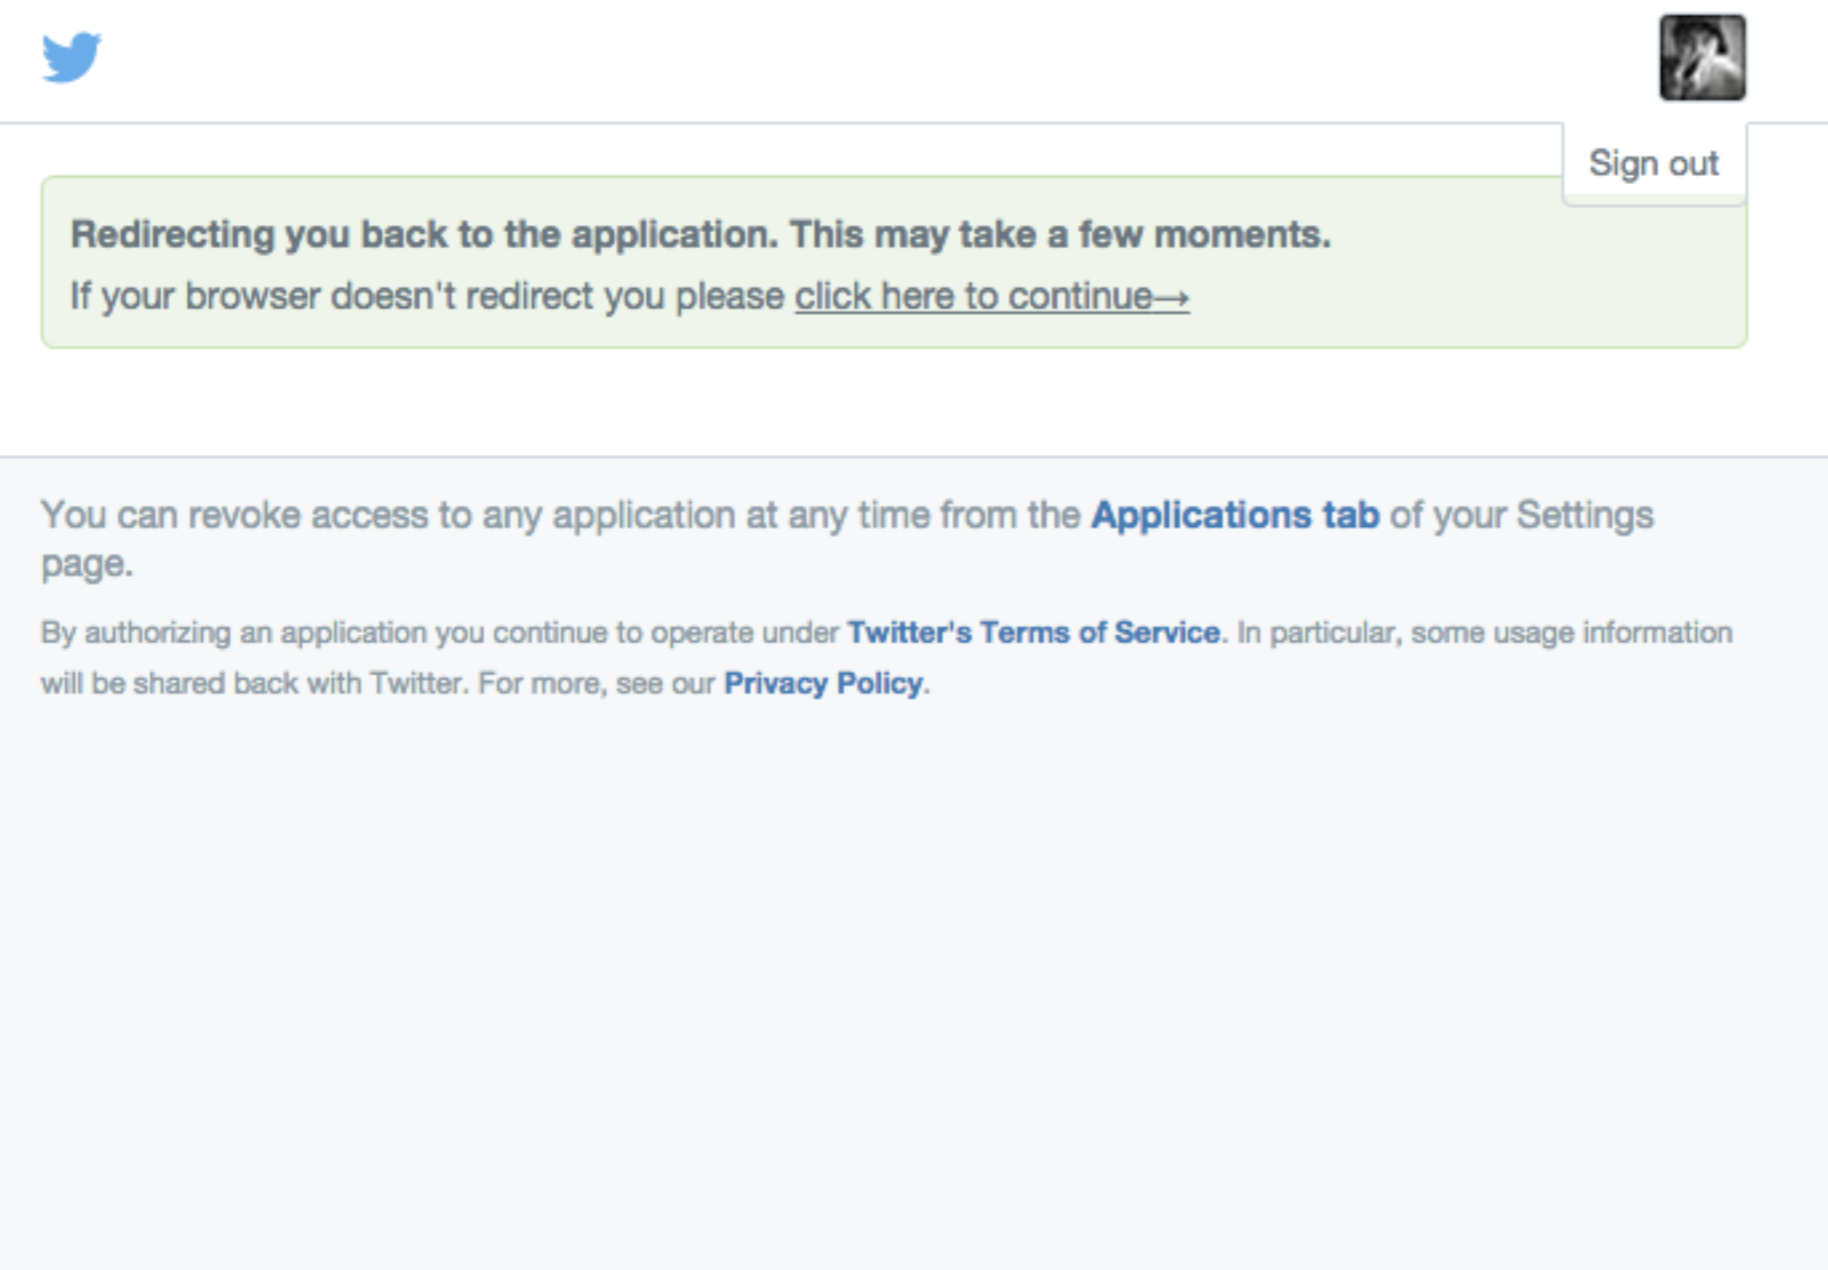
Below are screenshots for the signed in, signed out, and redirect screens: